Creating an project and identity in web ui.
Go the the dashboard and create a project and add some testing secret. The project should be on secret management.
Then follow the steps
- Creating an identity
To create an identity, head to your Organization Settings > Access Control > Identities and press Create identity.
When creating an identity, you specify an organization level role for it to assume; you can configure roles in Organization Settings > Access Control > Organization Roles.
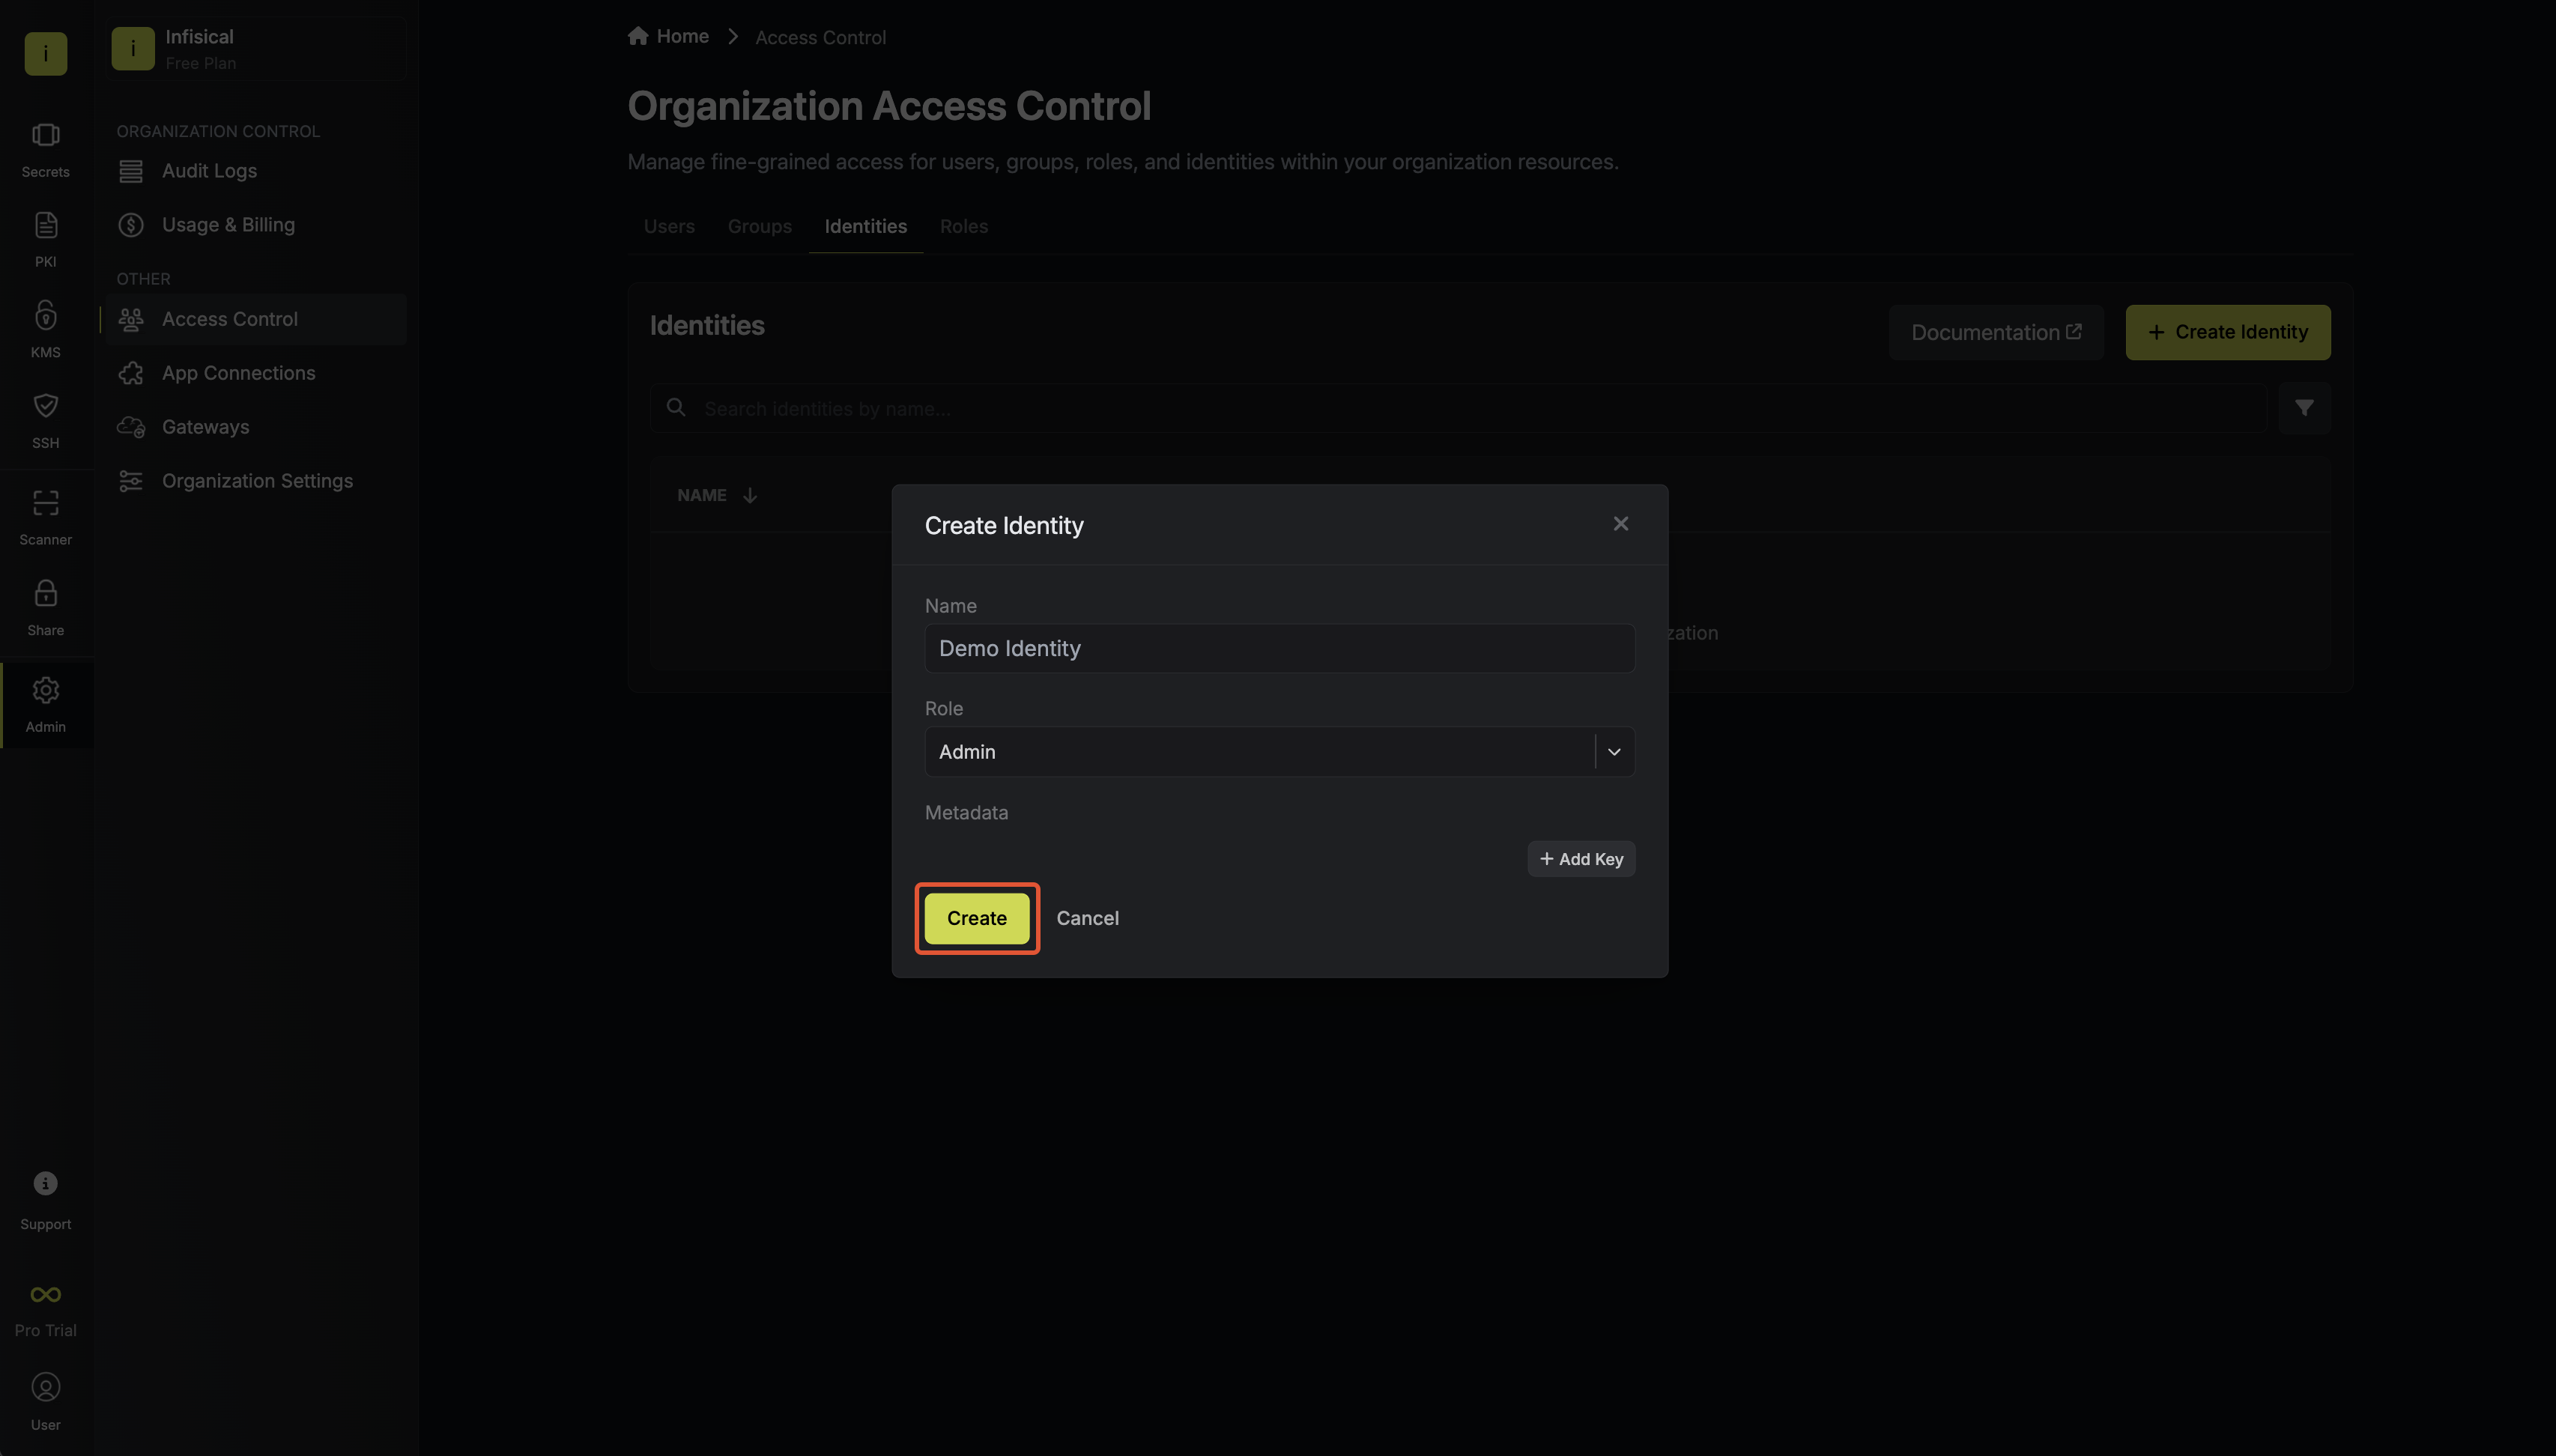
Now input a few details for your new identity. Here’s some guidance for each field:
- Name (required): A friendly name for the identity.
- Role (required): A role from the Organization Roles tab for the identity to assume. The organization role assigned will determine what organization level resources this identity can have access to.
Once you’ve created an identity, you’ll be prompted to configure the authentication method for it. Here, select Kubernetes Auth. We can delete the existing universal auth first.
Run the bellow shell command to get infisical-token-reviewer-token, cluster end point, ca certificate in ca.crt file.
kubectl get secret infisical-token-reviewer-token -n default -o=jsonpath='{.data.token}' | base64 --decode

kubectl cluster-info

kubectl config view --raw -o jsonpath='{.clusters[0].cluster.certificate-authority-data}' | base64 --decode > ca.crt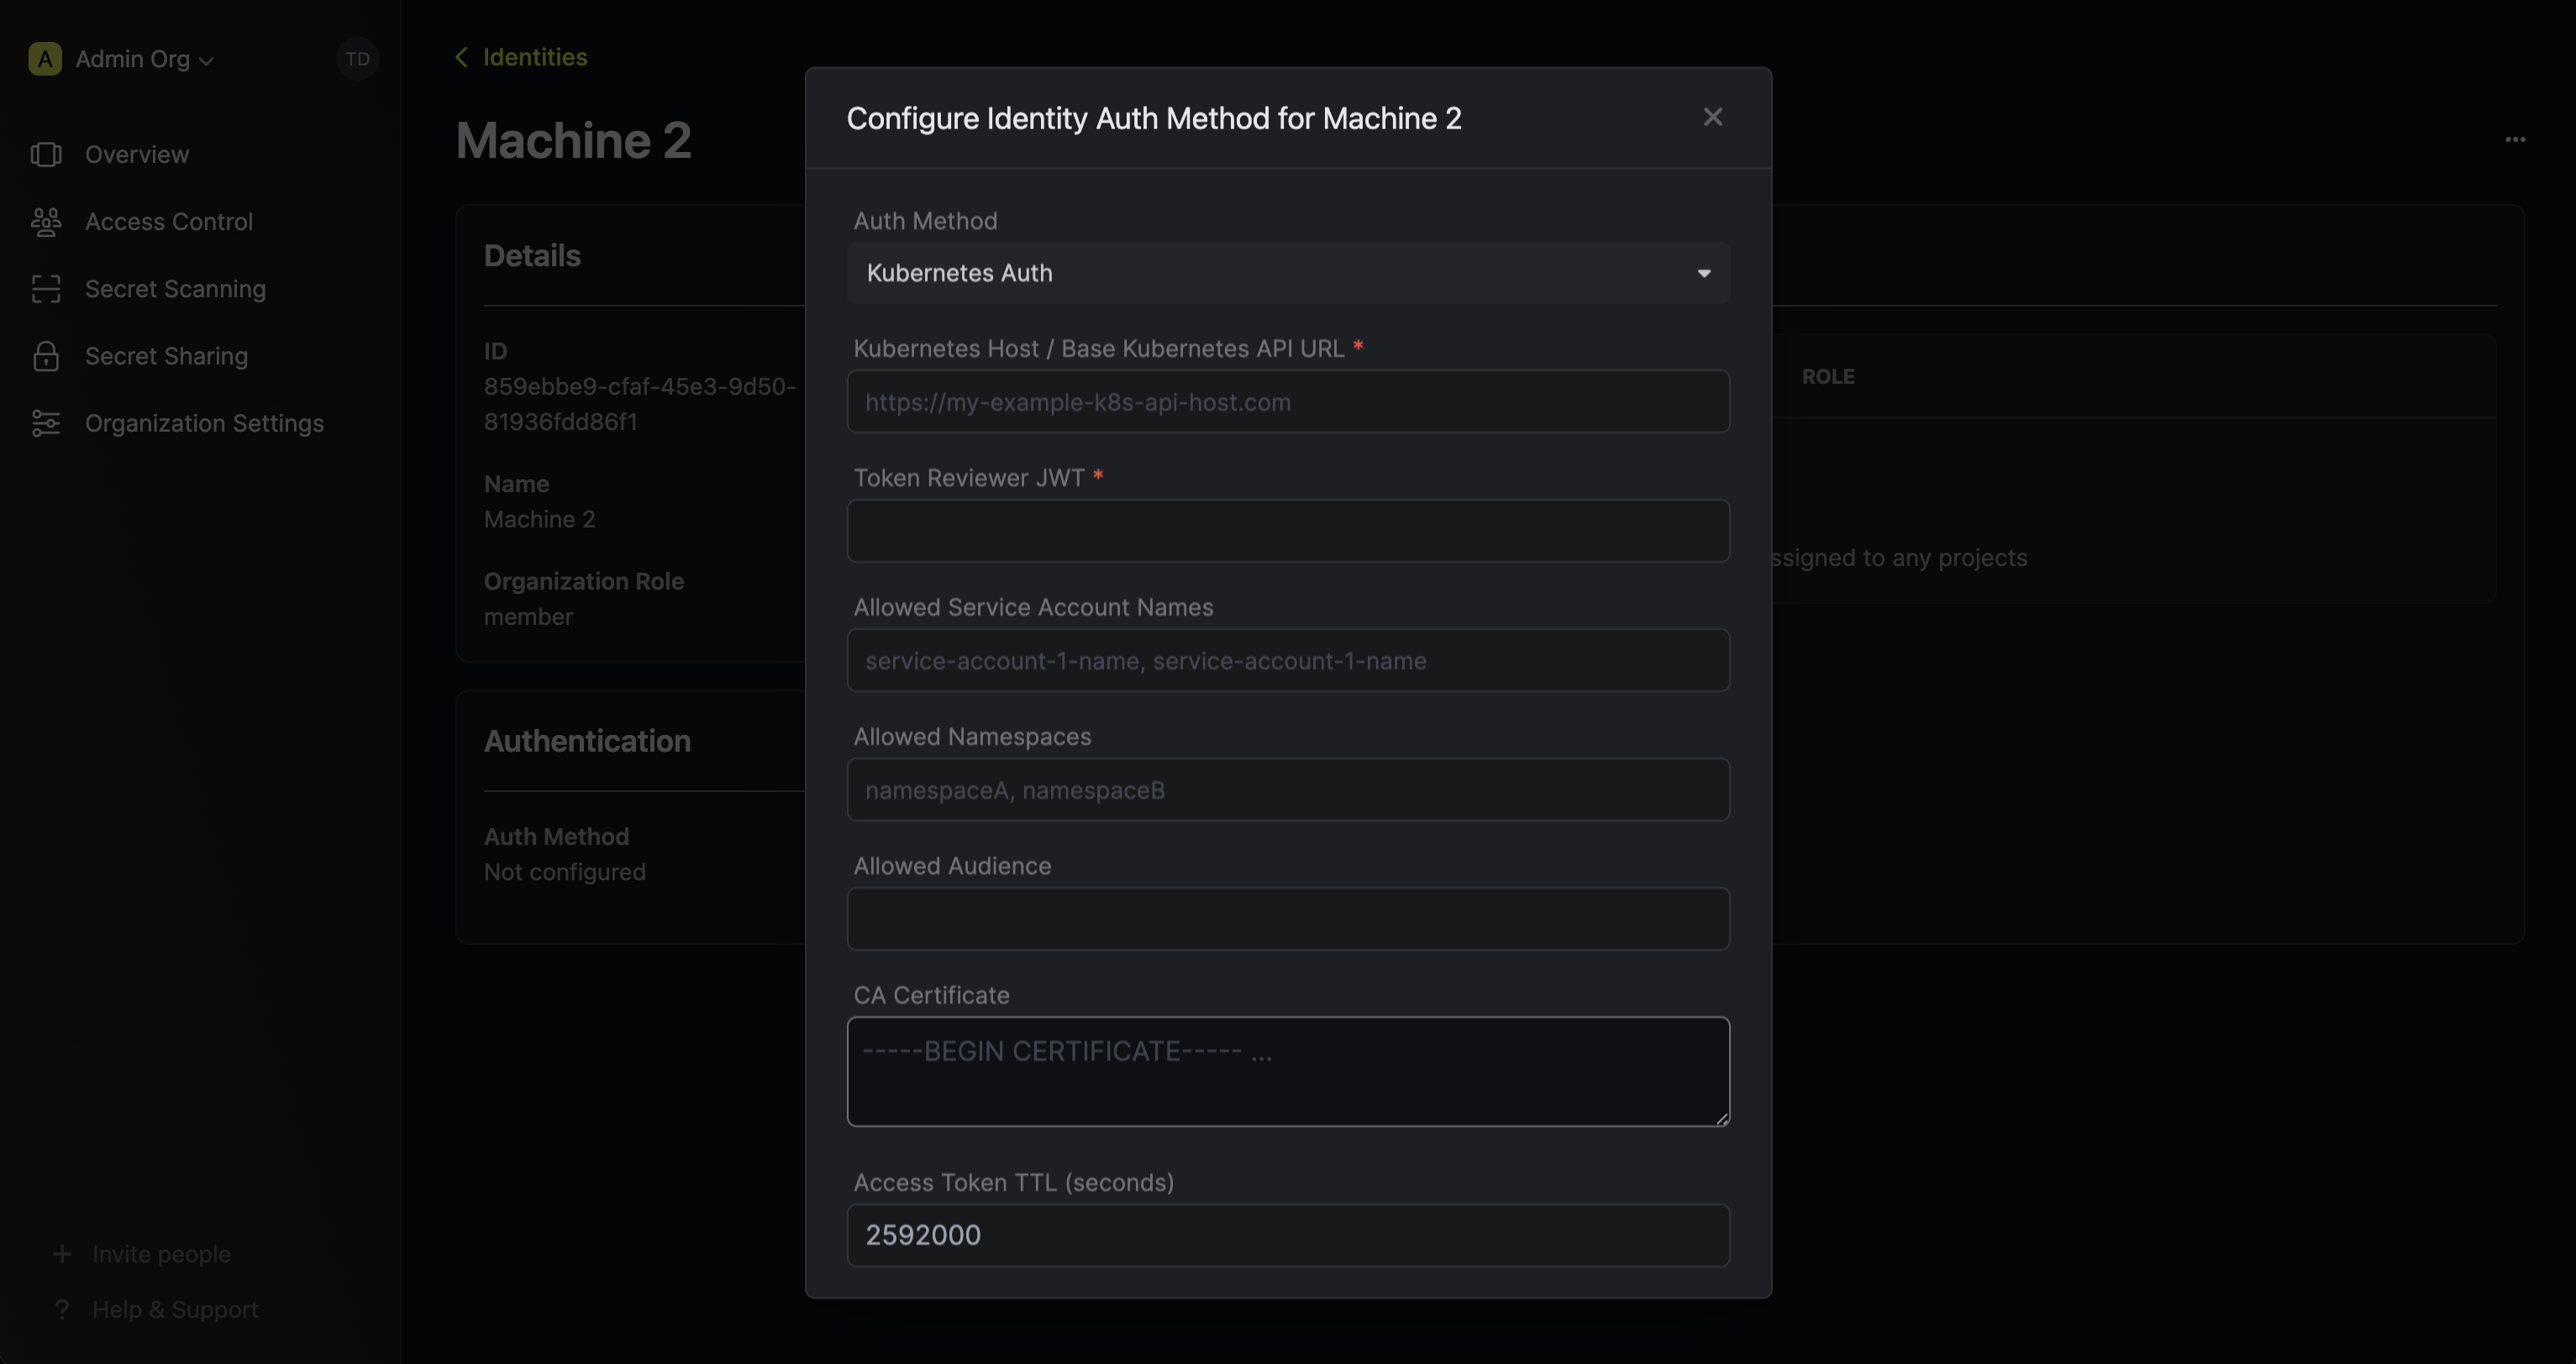
Allowed service name will be: infisical-token-reviewer, infisical-service-account
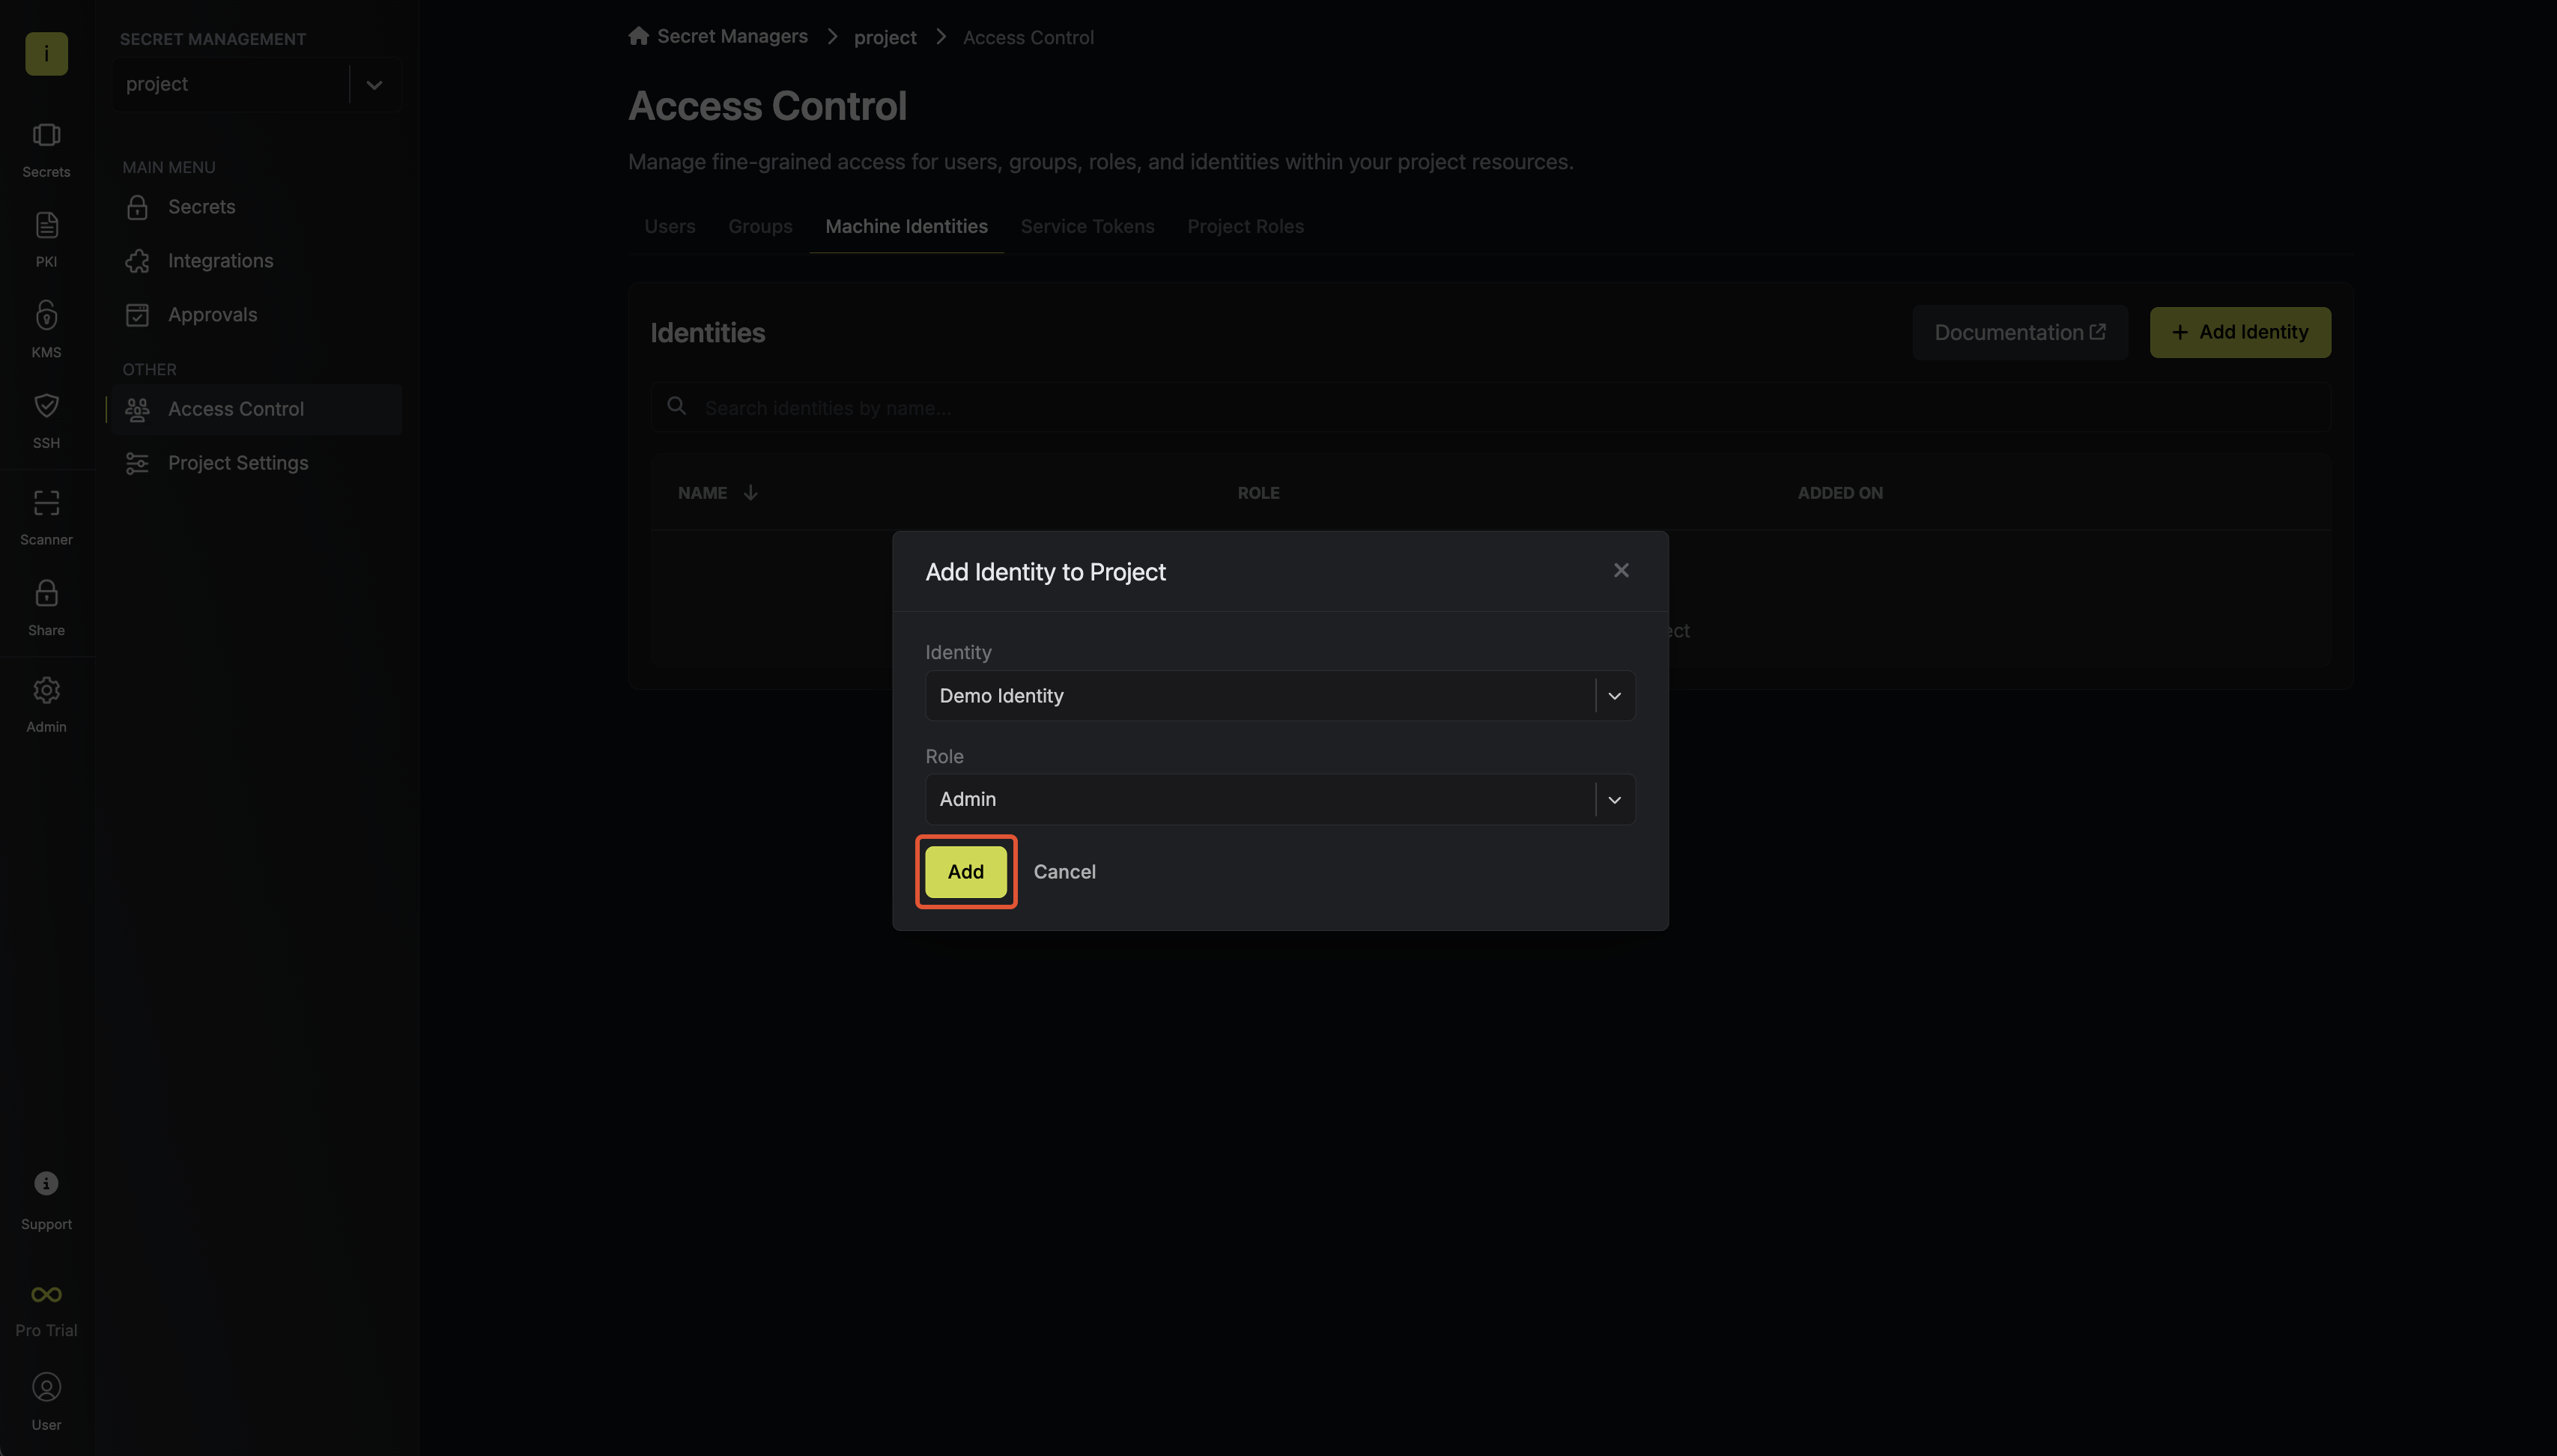
2. Adding an identity to a project
To allow the operator to use the given identity to access secrets, you will need to add the identity to project(s) that you would like to grant it access to.To do this, head over to the project you want to add the identity to and go to Project Settings > Access Control > Machine Identities and press Add identity.Next, select the identity you want to add to the project and the project level role you want to allow it to assume. The project role assigned will determine what project level resources this identity can have access to.